
Sometimes people ask – does Dick ever make things for his own home? The answer to that would be an emphatic YES, ABSOLUTELY. I’ve made many of our own home furnishings and other accent pieces over the years, and “Mountain Clock” is just one in a long line of many.
Its genesis came about one day when my wife said that the wall clock in our North Carolina kitchen was, of all things, boring! Needless to say, I took that as a challenge and it got my creative juices flowing. After very little pondering, and hesitation, I thought what could be more cool than a new wall clock that evoked the memory of our long time home in Montana and its stunning mountainous topography.
So I started to doodle and came up with a very nice plan. This design also lends itself well to be easily modified and/or scaled to suite any future client’s needs. The sketch, shown here at the right, created in Adobe Illustrator, was the start to a new and challenging project. The clock face itself is simply a circle and the mountains are overlapping freehand shapes.
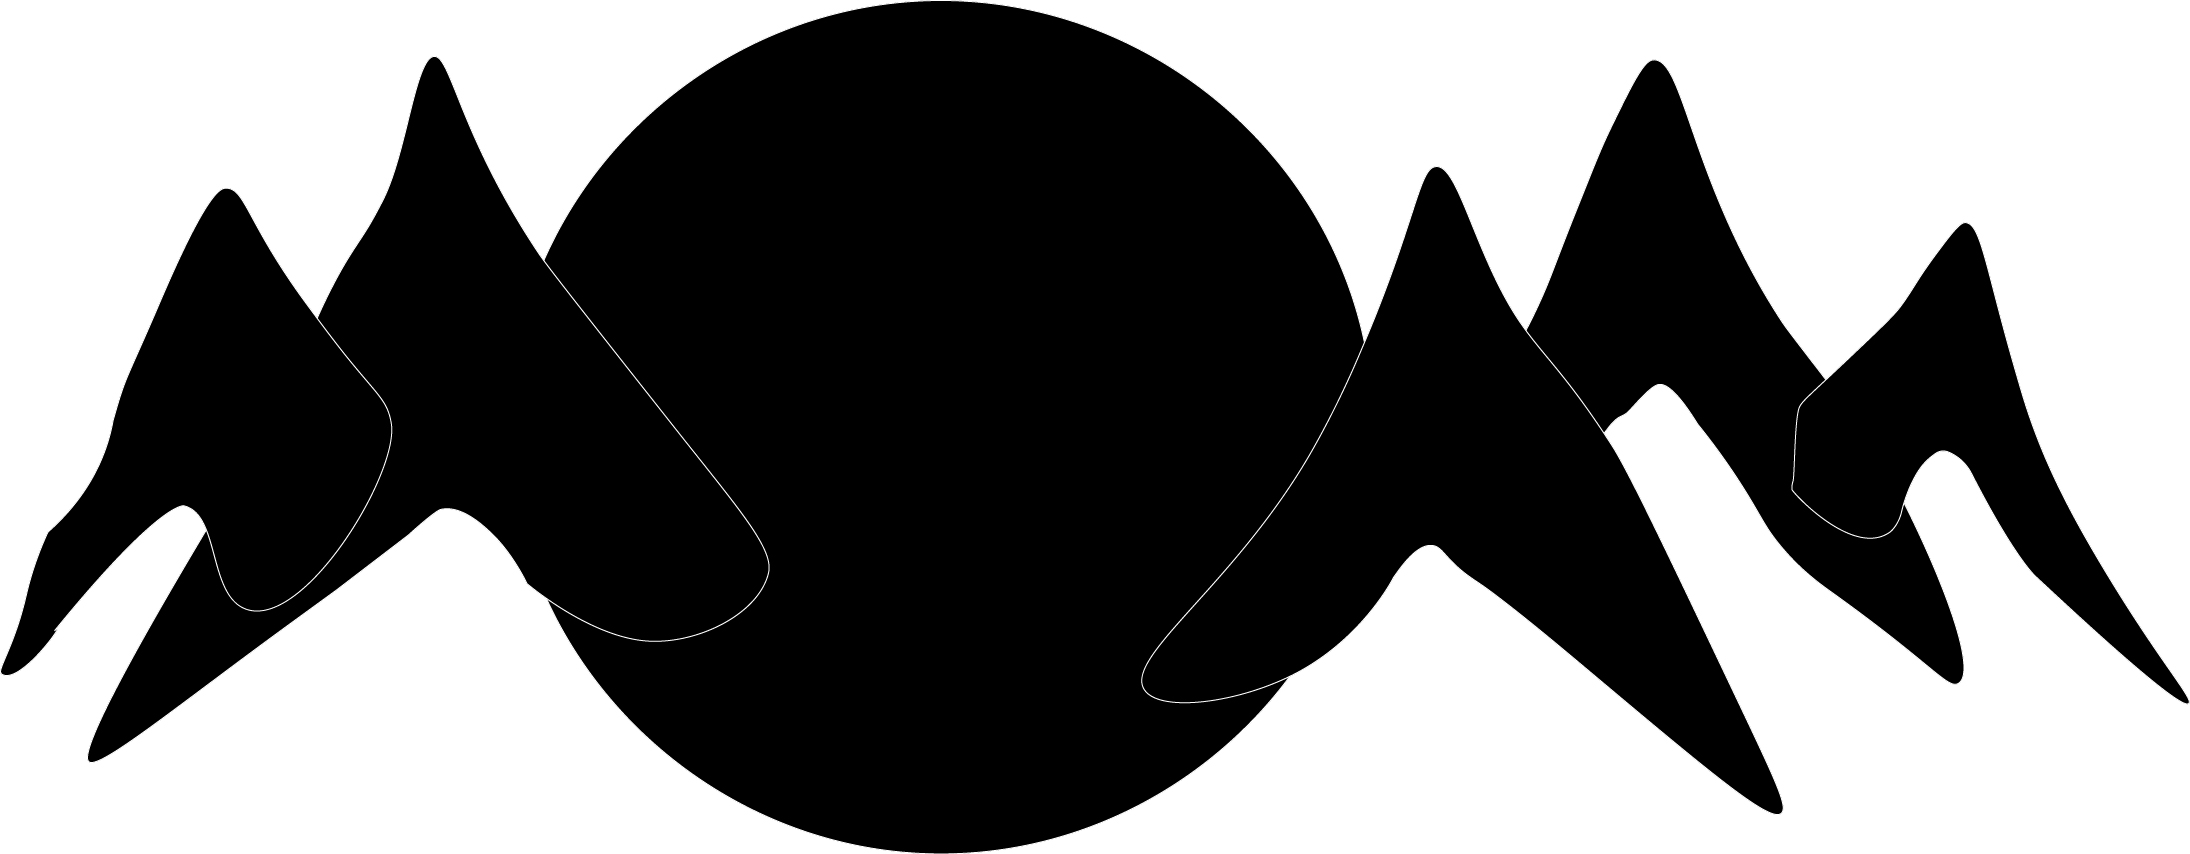
Once the basic design was complete, it was now time to select the appropriate material. I wanted the clock face to be a nice light shade to emulate the sun. So it was an easy choice and I selected Maple from some stock I had laying around. For the mountains, I needed something more dramatic and contrasting, so I decided to use some of the Hickory that I had harvested from our property. It had been air-drying for over a year and was now ready to be put to a good use.
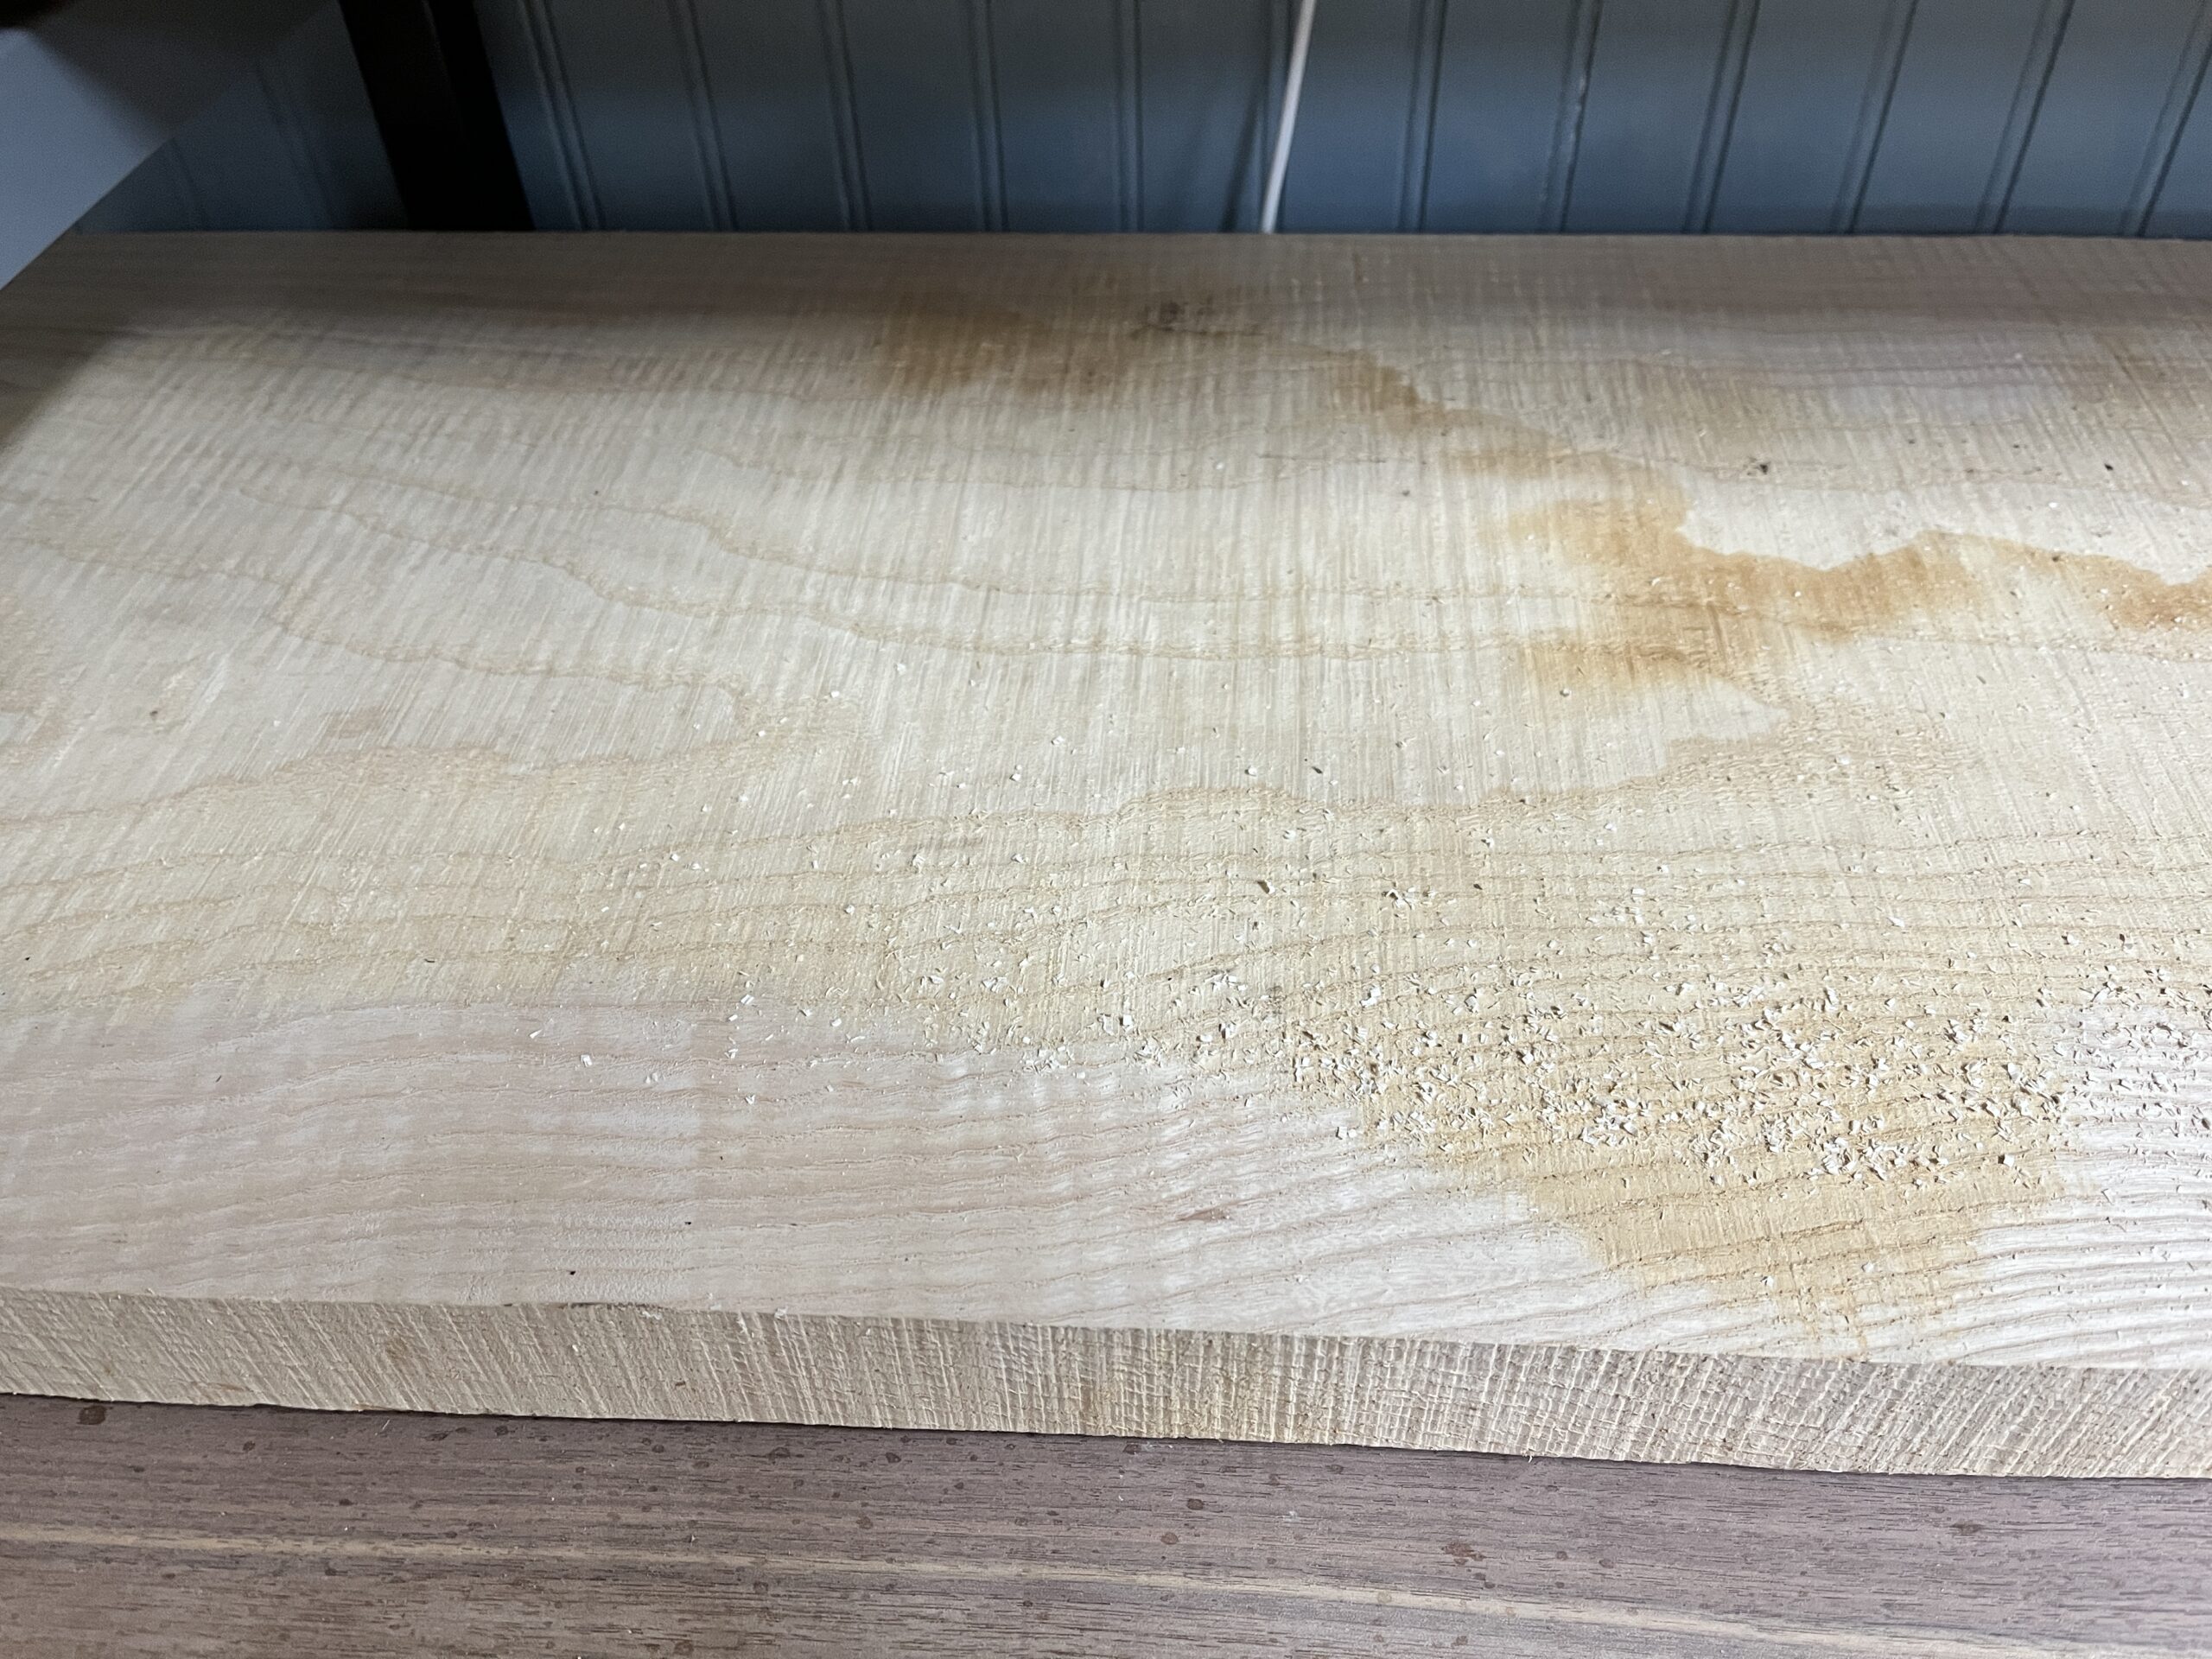
The Maple was about 1-1/4″ thick and was ideal for use as the clock face. The first photo at right shows the rough stock. Of course before it could be used, it needed to be surfaced, cut to size and then a pocket constructed to receive the clock movement. In this manner the movement would be concealed and not protrude from the rear of the face.
The initial step was to surface both faces of the clock face smooth and parallel. This was accomplished at the planer. It was easier to do the initial flattening here since my joiner will only readily accept material 6″ wide or less and the Maple stock was 13″ (max width of the planer). The blank was run thru the planer on a carrier board – wedged so it wouldn’t rock, to insure a good smooth face. Then it was flipped over and run thru again, without the carrier board, to get both faces parallel. This step is shown in the middle photo at right.
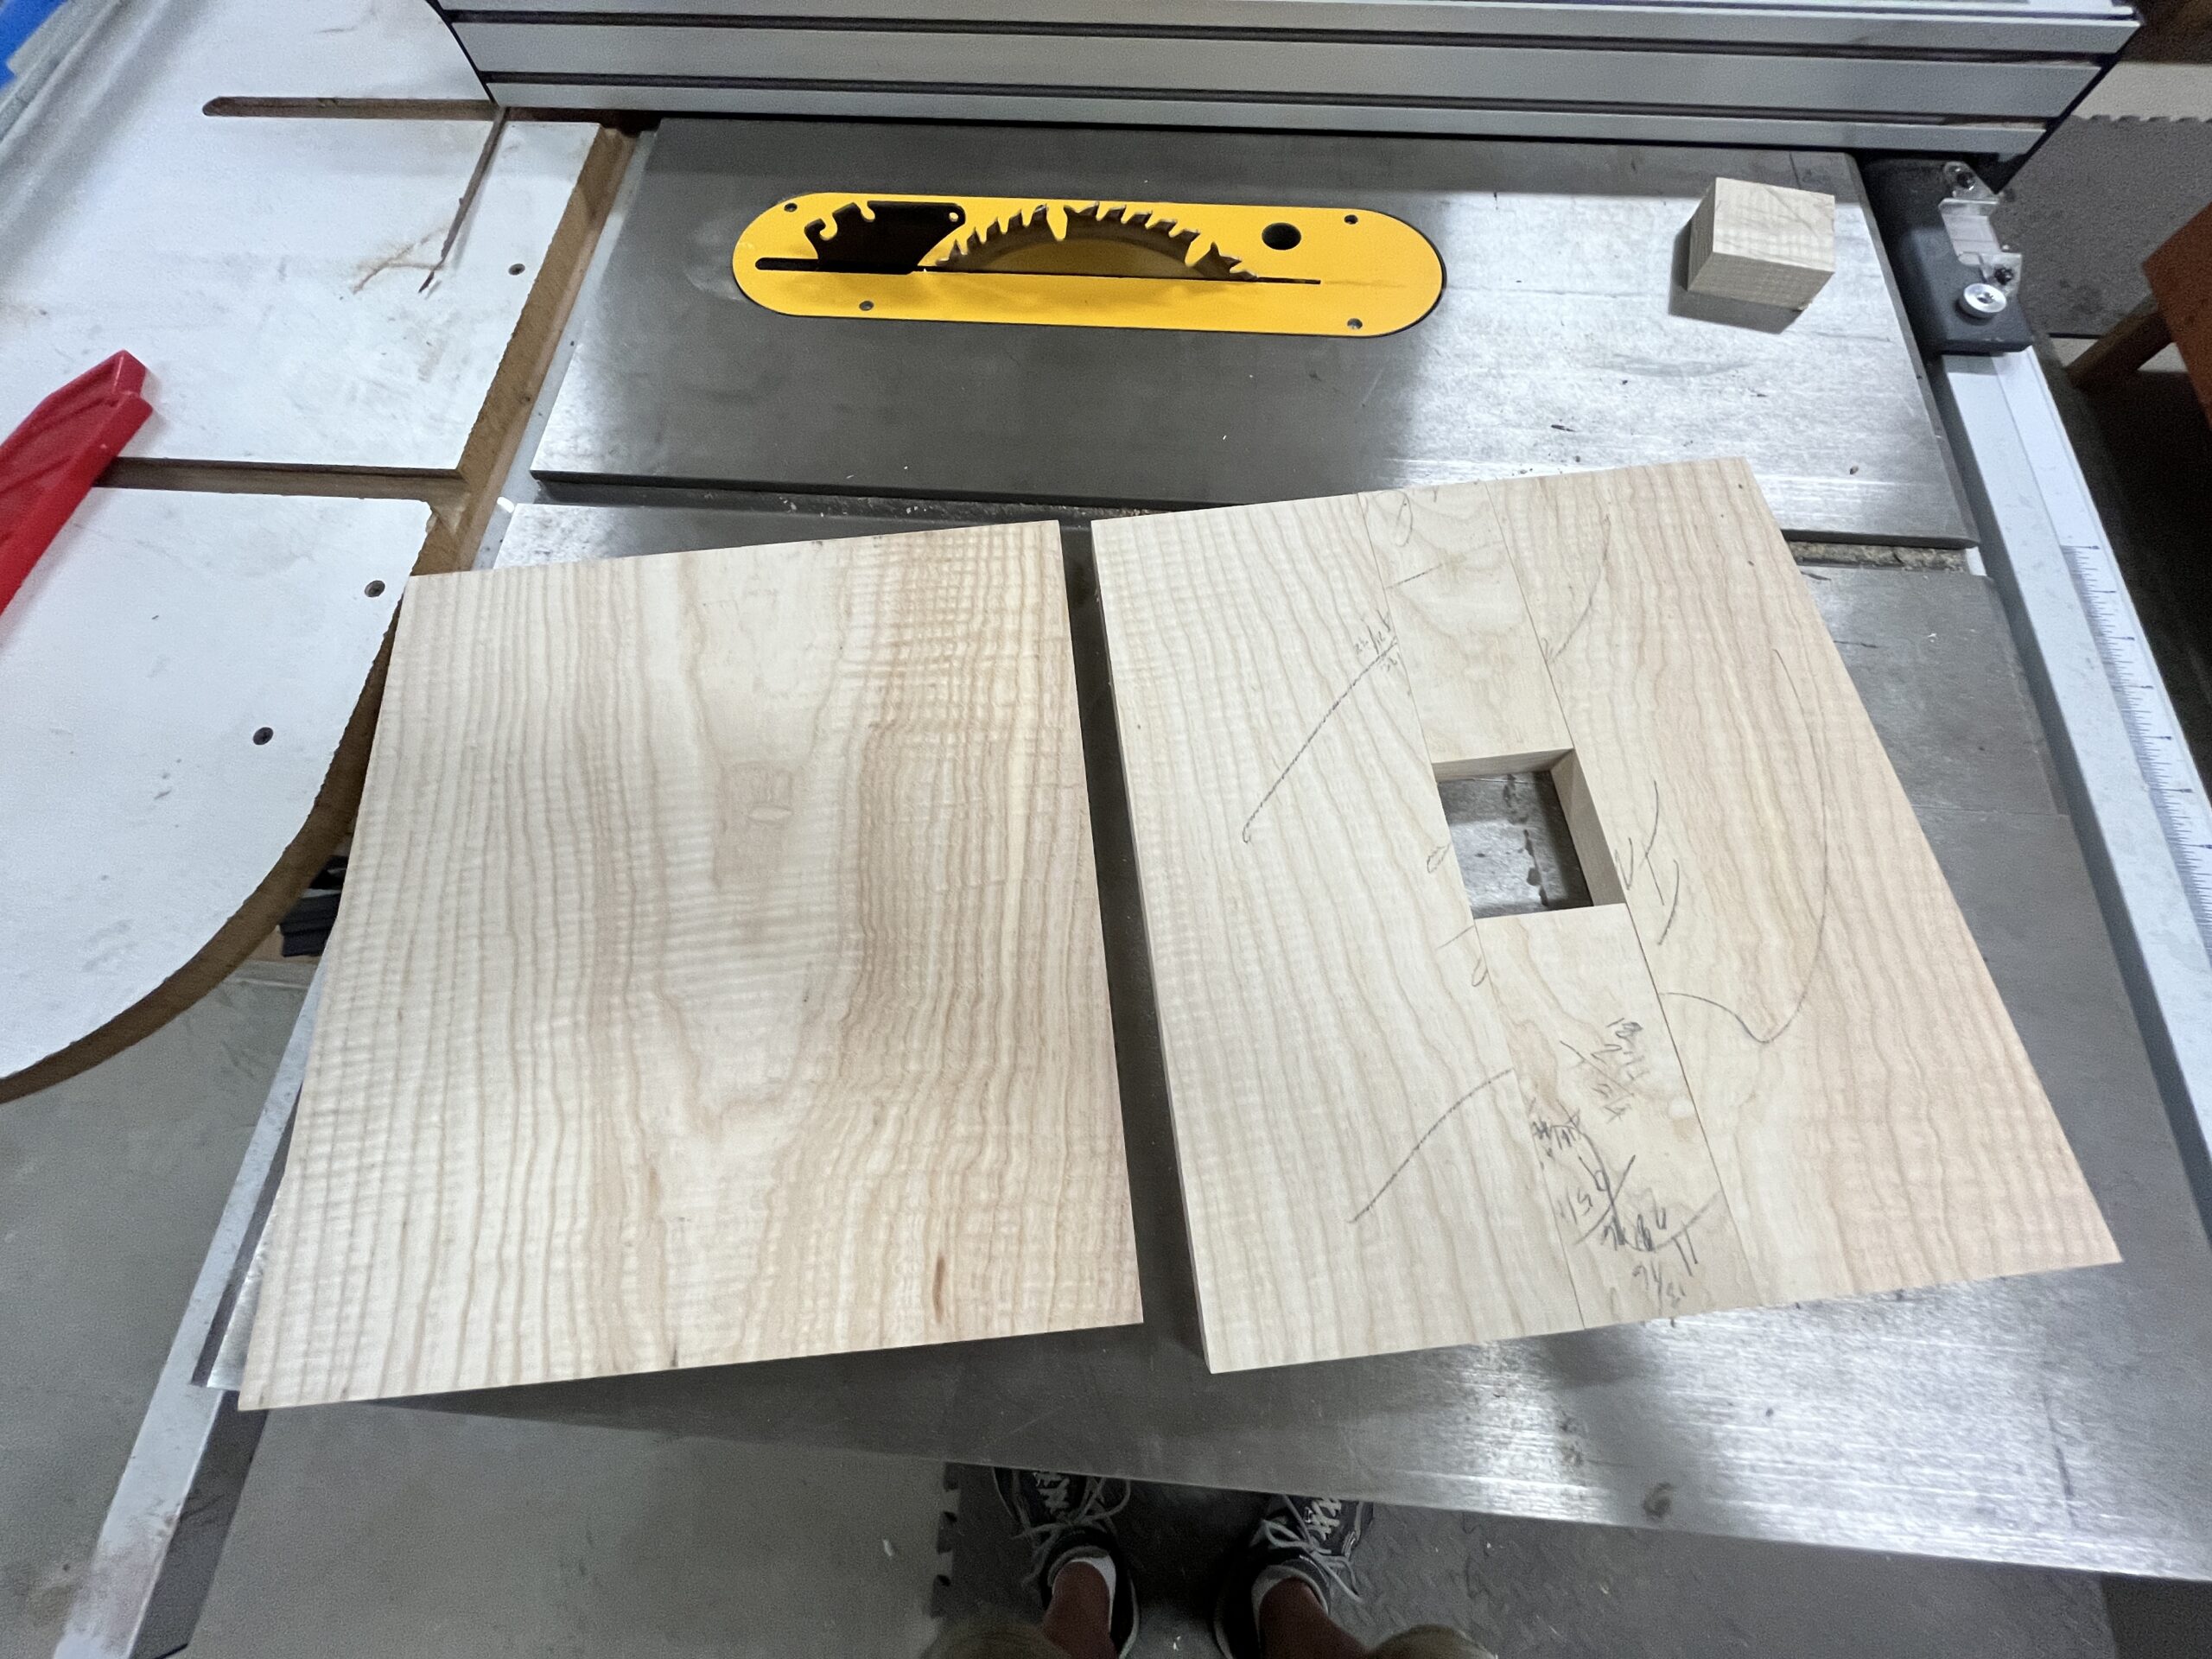
Next it was off to the bandsaw to resaw the blank to get a 1/4″ top piece to accommodate the stem of the clock movement. The remaining bottom piece was then ripped twice to yield a piece with a width that would accommodate the height of the movement. That center piece was then cut to a length so that the amount removed was again equal to the width of the clock movement. Sounds complicated but the far right photo shows the outcome before the top and bottom pieces were again glued back together to form the completed clock face blank.
Next it was time to concentrate on the mountains. I especially liked the Hickory for this because of its wild variations in color and grain. Also its very light sapwood would provide a great snow capped mountain effect.
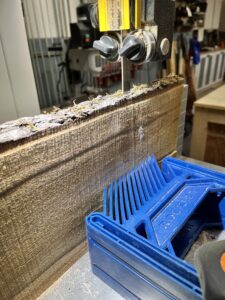
To provide some depth and dimension, I decided on making multiple overlapping mountain layers – three on the right and two on the left. In order to maintain a manageable thickness, and minimize weight, the 1″ to 1-1/2″ thick Hickory boards that I had available needed to be resawn on the bandsaw to yield a finished thickness of about 1/4″.
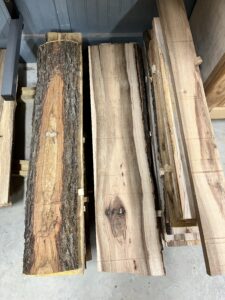
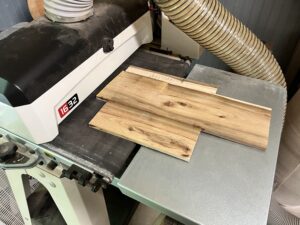
The images at left, first shows the stacked Hickory planks and then the process of resawing those on the bandsaw. The last image shows the resawed pieces being sanded, to remove any saw marks, and provide a nice smooth surface. This was done on the drum-sander.
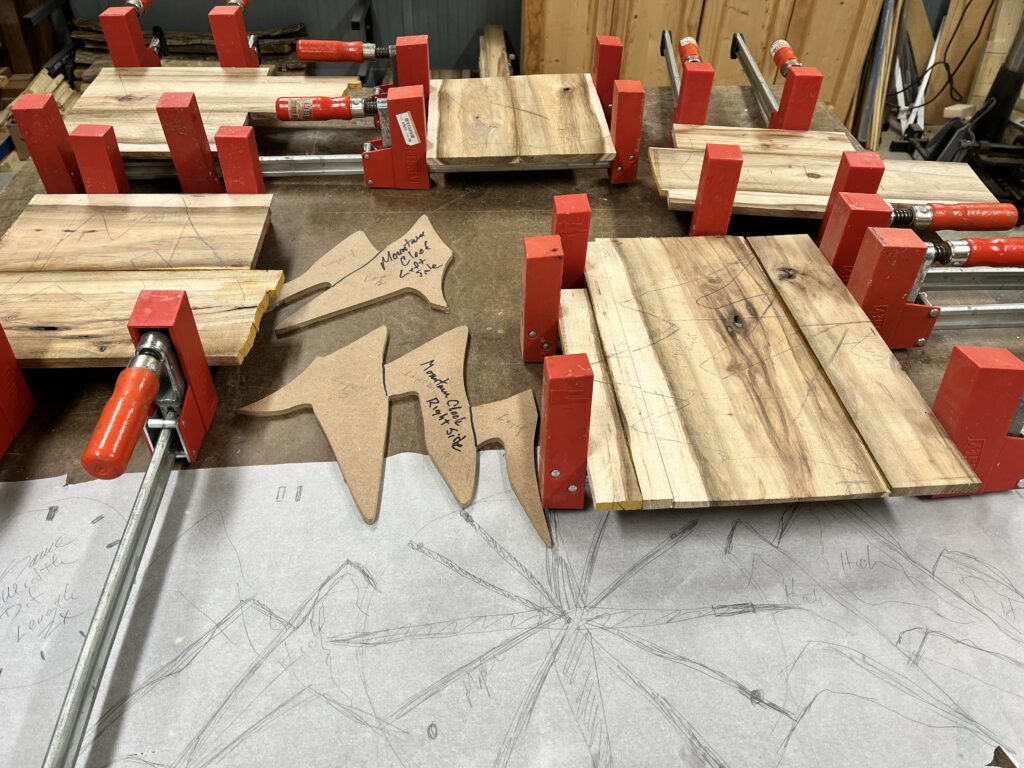
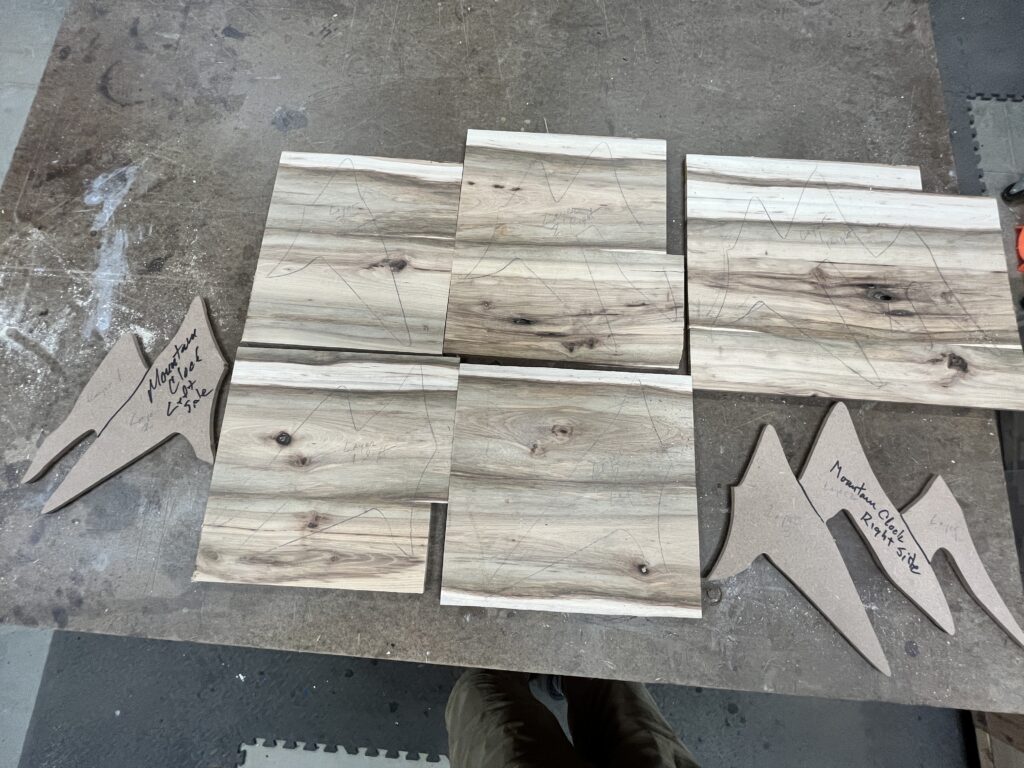
With all the stock cut to size and surfaced, it was on to the next step – getting all the mountain stock sorted and glued up to the widths necessary for final cut-out and fabrication. The first image, on the right here, shows all the material glued up to make the five layers needed for the overlapping mountain ranges. On that same image, the cut-out templates used for trial layout and orientation for the mountains are also shown, as well as a hand sketch of the initial design.
The last image shows each of the five blanks with the shapes from the templates traced onto them, ready for final cut out.
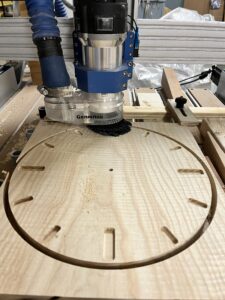
Cutting out the round shape for the clock face along with the sockets or mortises for the hour locations could be somewhat tedious to do solely by hand. So for this effort, I chose to use the CNC machine which is ideally suited for a task such as this. The image at right illustrates the process of the CNC machine cutting out the circular clock face from a square blank.
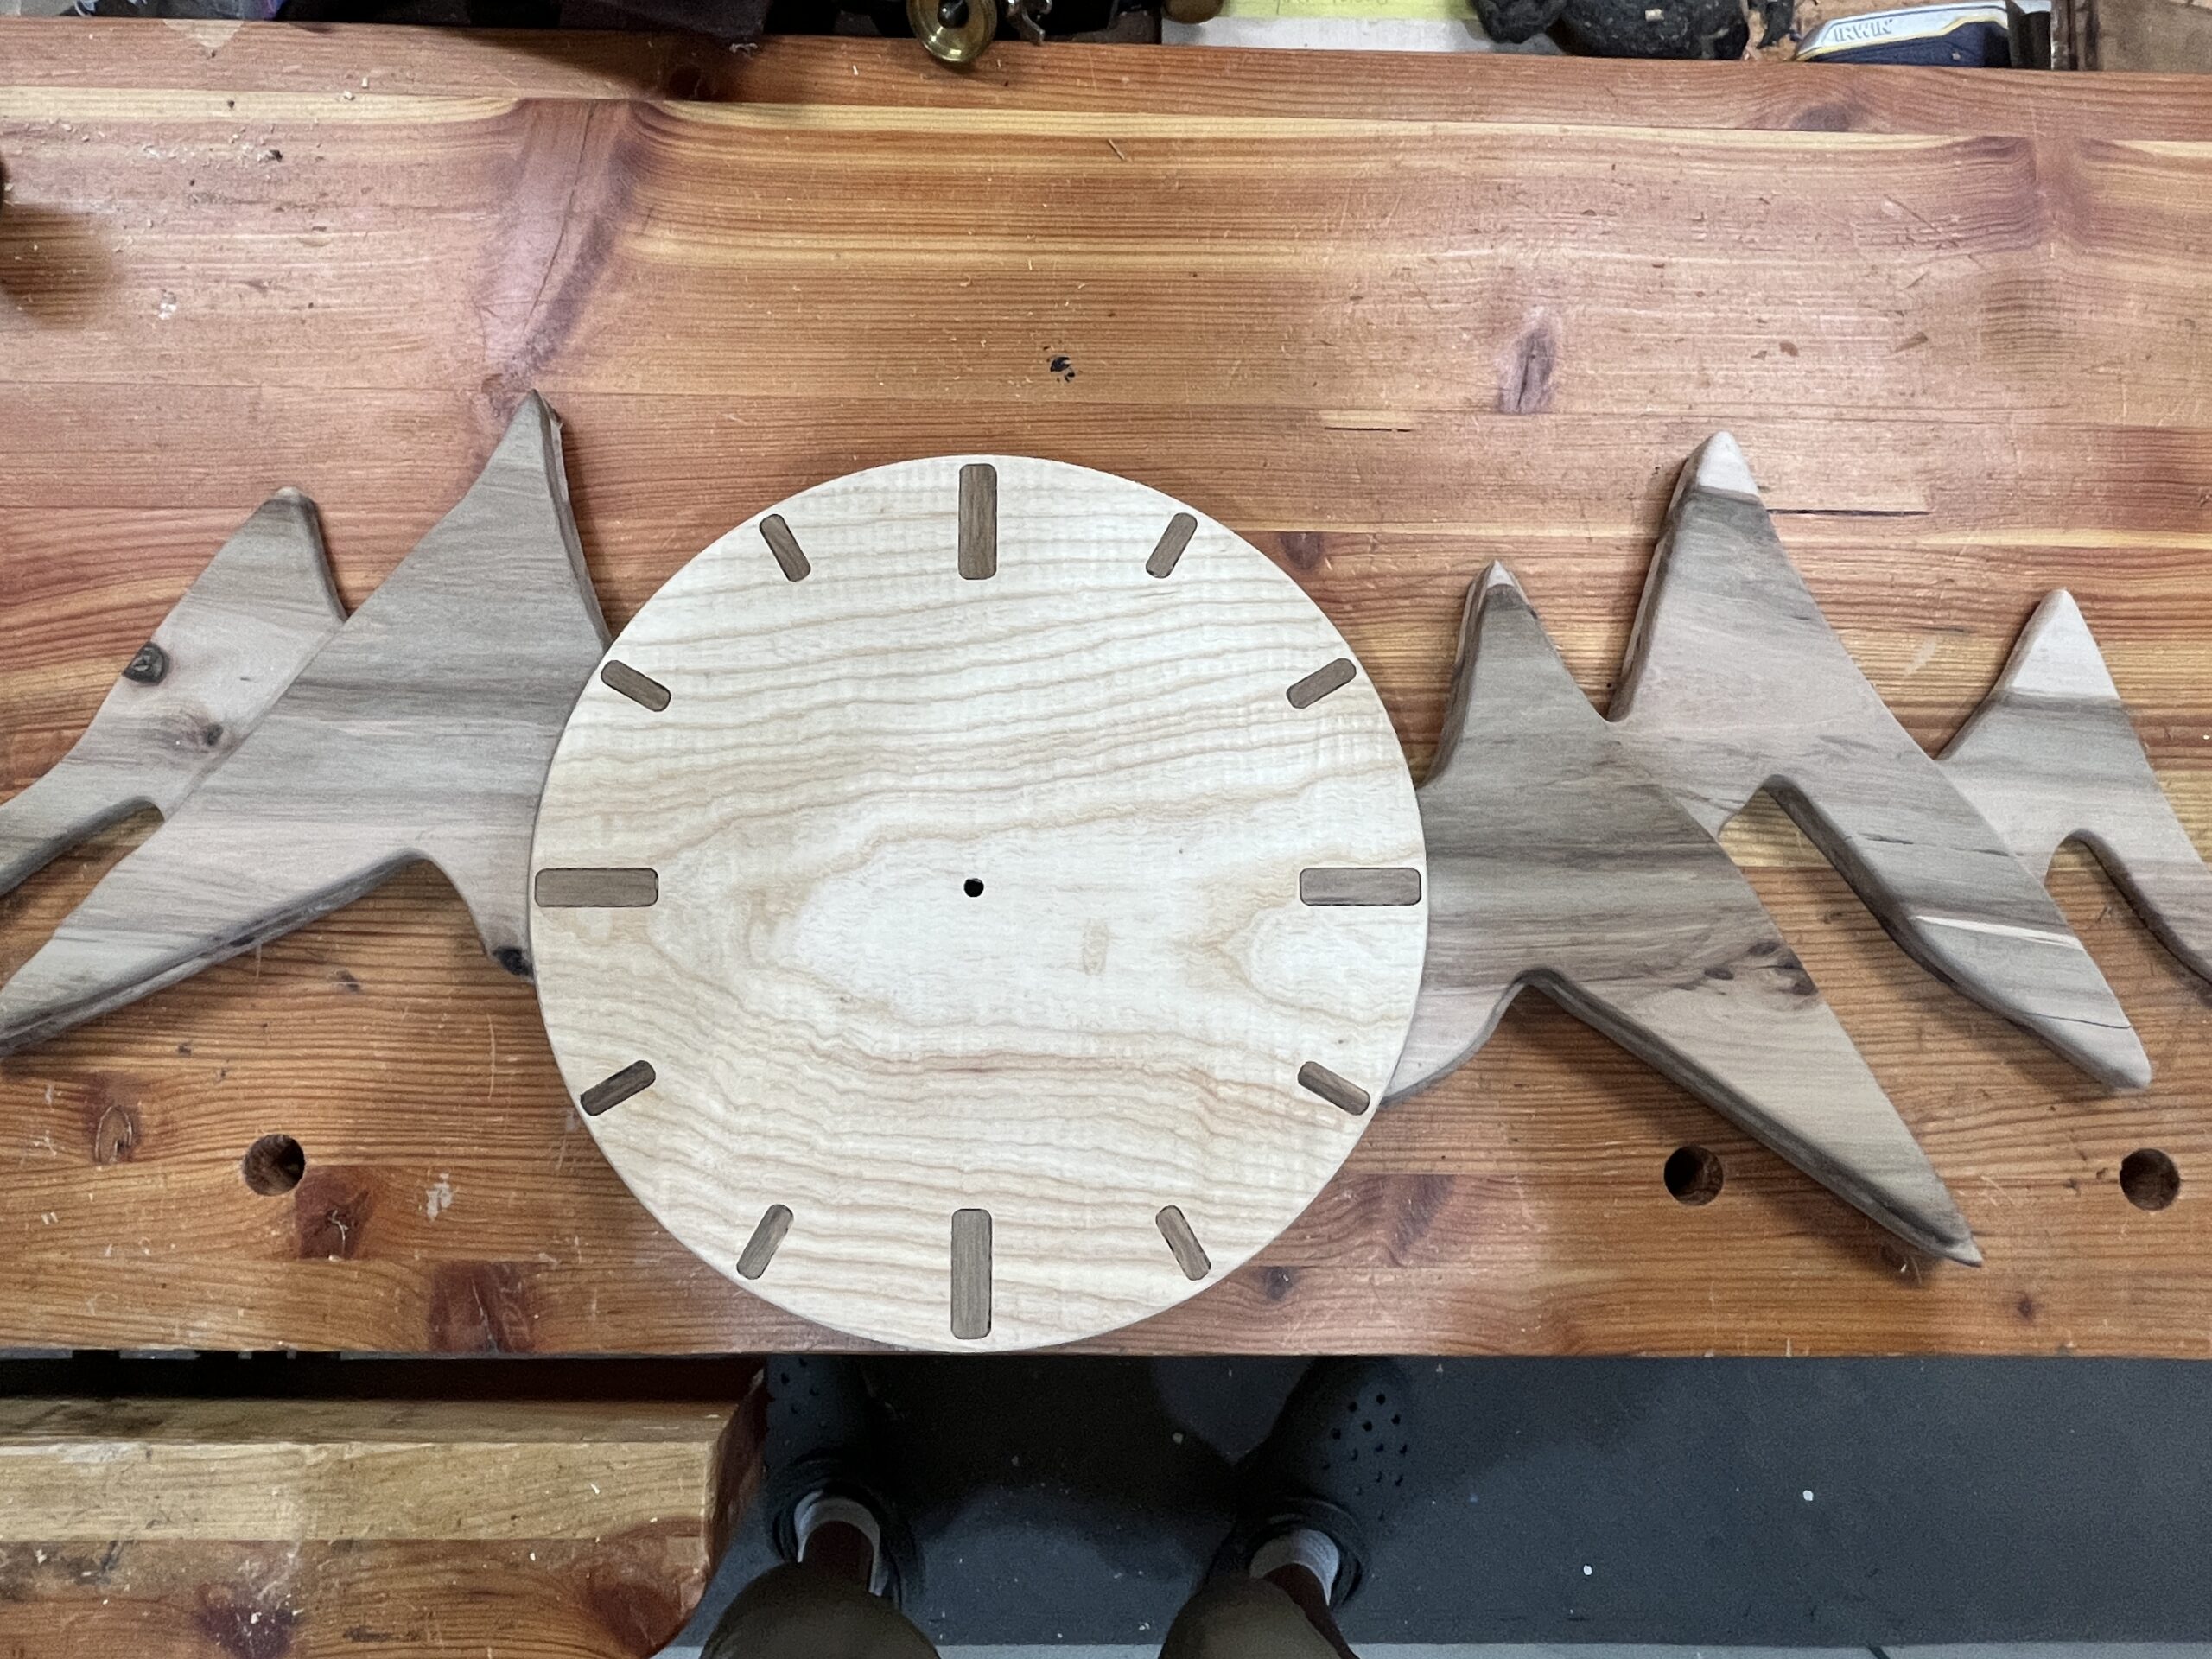
The image above left, shows the assembled clock with inlays at the hour locations. The inlays were also cut out of Hickory. To insure that they exactly fit the clock face sockets, they were all cut out on the CNC machine. The use of Hickory here again provides both a nice contrast with the white Maple and matches the tone and texture of the adjacent mountains.
The mountains themselves were constructed by gluing up matching 1/4″ thick pieces of stock to provide the depth and added dimension necessary for the desired look.
To attach the completed mountains to the clock face, I opted to use two dowels on each side. While there are certainly other options for accomplishing this, this method seemed to be the most straightforward and simplest choice. The dowels worked sufficiently well to provided the necessary strength, and to keep everything lined up perfectly together.
Prior to final assembly, each component’s top face was eased over by use of a round-over bit at the router table. They were then hand sanded giving them a nice smooth tactile feel. A final finish of polyurethane varnish was applied to all pieces.
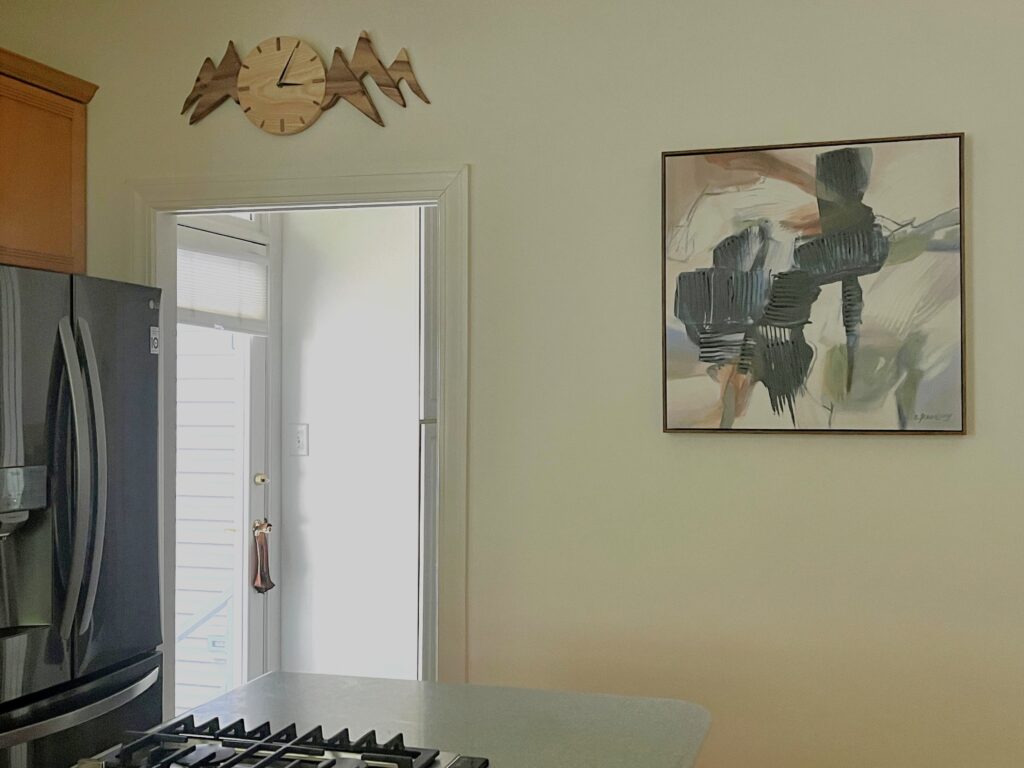
The last photo, upper right, shows the clock installed in its final home – our kitchen wall.